
Early leak detection through visual checks and energy bill analysis is crucial for DIY underfloor heating maintenance. Consult specialists for complex issues or climate-specific advice. Regularly access and inspect systems via panels/grilles to identify damage or leaks. For minor leaks, apply suitable sealant after locating the issue; consult professionals for humidity control problems. Test and optimize system performance post-repair using thermal imaging cameras. Always prioritize safety and consider expert guidance from underfloor heating specialists.
Looking to fix underfloor heating leaks yourself? This comprehensive guide is your go-to resource. Discover how to identify, repair, and prevent leaks in your underfloor heating system using DIY methods. Learn the essential steps from gathering tools to optimizing performance, all without hiring an underfloor heating specialist. With our step-by-step instructions, you’ll be back on track to enjoying a cozy home with efficient heating.
- Identifying Underfloor Heating Leaks DIY Style
- Gather Tools and Materials for Repair
- Accessing and Inspecting Your Underfloor System
- Sealing Leaks: Step-by-Step Guide
- Testing and Optimizing After Leak Fixation
Identifying Underfloor Heating Leaks DIY Style
Identifying underfloor heating leaks is a crucial step for any DIY enthusiast looking to maintain their home’s comfort systems. As an underfloor heating specialist, you’ll know that leaks can cause not only inefficient energy use but also significant damage to your flooring and even structural components over time. Luckily, spotting these issues early on is entirely doable with the right tools and some keen observation.
Start by checking for any obvious signs of water damage or mold growth beneath your floors. Underfloor heating and humidity control are essential aspects of maintaining a healthy home environment, so leaks can quickly lead to problematic conditions. Additionally, review your energy bills; unusual spikes could indicate faulty systems or leaks. Underfloor heating installation tips recommend regular maintenance checks, including inspecting pipes for corrosion or damage, especially in older homes. Remember, an underfloor heating specialist’s expertise can guide you through the process if you encounter any complex issues, ensuring safety features are always prioritized.
Gather Tools and Materials for Repair
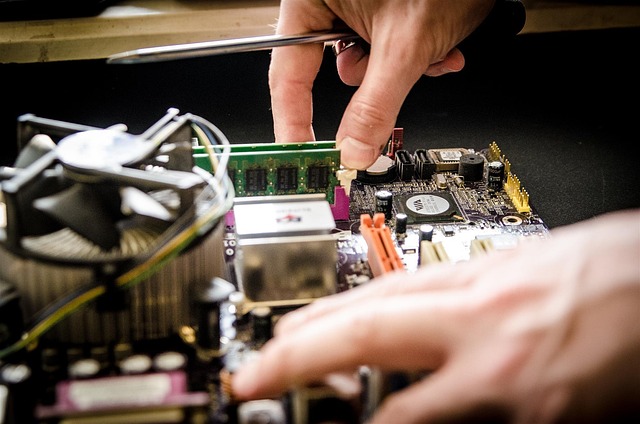
Before tackling any DIY repair, ensure you have the right tools and materials at hand. For fixing underfloor heating leaks, gather a set of pliers, a trowel, thermal insulation tape, replacement pipes (if necessary), and a leak-detection solution to identify problem areas accurately. It’s also beneficial to have a clear understanding of your underfloor heating system—whether it’s hydronic, electric, or other types—as this will guide your repair process.
If you’re dealing with cold climates, consider the specific requirements for underfloor heating in such environments, as these might differ from more temperate regions. For instance, choose the right underfloor heating type that can maintain warmth efficiently. Additionally, if pipes need replacement, it’s crucial to replace them with suitable materials designed to withstand low temperatures and minimize heat loss.
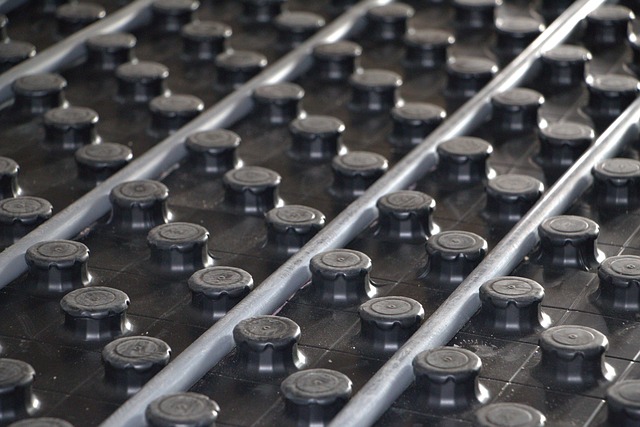
Accessing and Inspecting Your Underfloor System
Accessing and Inspecting Your Underfloor System is a crucial step in identifying and fixing leaks. As an underfloor heating specialist, we recommend starting by locating the access panels or grilles that cover your system. These are typically found along walls or in corners, providing easy access to the pipes and radiators beneath. Once you’ve gained entry, thoroughly inspect the entire length of the underfloor network for any signs of damage, corrosion, or obvious leaks. Look for discolored areas, bulging pipes, or detached radiators, as these could indicate problems that require immediate attention.
For homes with underfloor heating for concrete floors, this process becomes slightly more intricate. You may need to lift the flooring or use specialized tools to access the system. The best underfloor heating systems offer clear pathways for maintenance and repair, making it easier for both professionals and DIY enthusiasts to tackle issues efficiently. In modern homes, where underfloor heating is a popular choice, regular inspections are vital to ensure optimal performance and prevent costly damage caused by leaks.
Sealing Leaks: Step-by-Step Guide
Sealing leaks in your underfloor heating system is a crucial task for both DIY enthusiasts and those seeking professional underfloor heating services. Before beginning, ensure all power to the system is cut off to maintain safety features and prevent accidents. Start by locating the source of the leak; this could be as simple as following the trail of water or identifying signs like bulging floors or discolored spots. Once found, prepare a solution of suitable sealant or caulk designed for underfloor applications.
The process involves applying the sealant around the leak’s perimeter, ensuring it fills any gaps or cracks. For larger areas, consider using a heat-curing sealant that hardens upon exposure to the warmth from your underfloor heating system, promoting long-lasting repairs. After application, allow the sealant to dry according to the manufacturer’s instructions, typically within 24 hours. This simple step-by-step guide can help fix minor leaks but remember, for more complex issues or underfloor heating and humidity control concerns, it’s best to consult a professional underfloor heating specialist.
Testing and Optimizing After Leak Fixation
After successfully fixing the leak, it’s crucial to test and optimize your underfloor heating system to ensure it operates efficiently and effectively. Start by turning on the system and monitoring its performance. Check if all areas of the floor are warming evenly; any hot spots or cold patches could indicate lingering issues. Use a thermal imaging camera (a tool often employed by underfloor heating specialists) for a detailed analysis. This will help you identify problem zones, ensuring every part of your home is comfortable.
Next, optimize the system’s settings. Many modern systems allow for precise temperature control in different zones or rooms. Adjust these settings to find the perfect balance, considering factors like floor insulation, room usage, and personal preferences. Engaging local underfloor heating experts or consulting an emergency plumber Bromsgrove can provide valuable insights tailored to your specific setup, ensuring your system is optimized for energy efficiency and comfort in your modern home.
Repairing underfloor heating leaks DIY is a feasible task that can save you from costly professional intervention. By identifying, gathering tools, accessing your system, sealing leaks, and optimizing performance, you can significantly extend the life of your underfloor heating system. Remember, while DIY repairs are rewarding, complex issues may require the expertise of an underfloor heating specialist for comprehensive solutions.